Table of Contents
- Why Couples Are Moving Beyond Traditional Photo Booths
- Best Apps for Wedding Photo Collection
- DIY Wedding Photo Station Ideas
- Wedding Photo Sharing QR Codes
- Disposable Cameras: A Retro Guest Engagement Option
- Comparison Table: Cost, Setup, and Guest Participation
- Technical Troubleshooting and Post-Wedding Photo Workflow
- Accessibility and Inclusive Design for All Guests
- Vendor Coordination and Event Day Logistics
- Which Alternative Fits Your Wedding Best?
- Frequently Asked Questions
Last Updated: September 20, 2026
Why Couples Are Moving Beyond Traditional Photo Booths
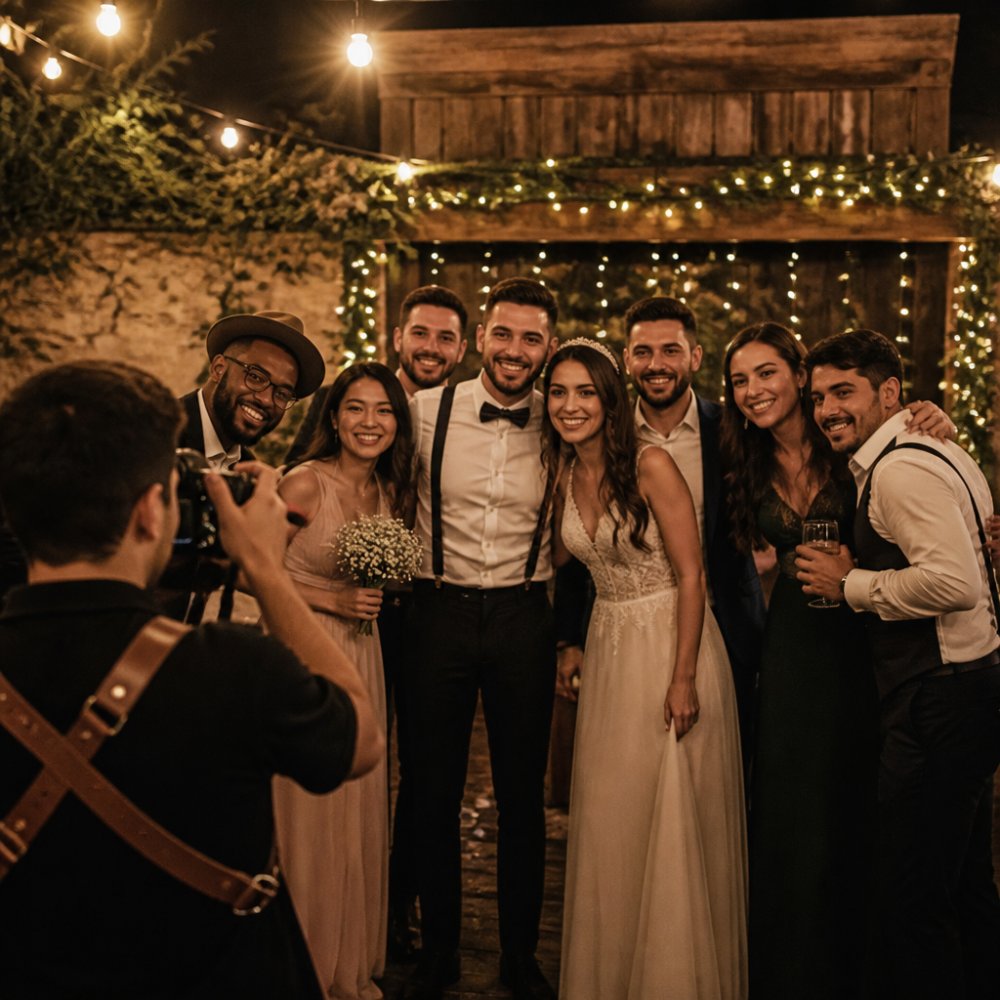
The traditional photo booth, a cramped box with a curtain and flash, doesn’t capture how weddings actually feel anymore. Guests want flexibility, instant sharing, and keepsakes that feel personal rather than generic strip prints.
We’ve watched couples rethink what photo collection means. The shift isn’t just about technology; it’s about giving guests agency in how they participate. Wedding photo booth alternatives might include a QR code on a table card, instant film cameras scattered across the reception, or an iPad station with a ring light. Each approach changes the guest experience differently.
The best wedding photo booth alternatives balance ease of use, cost, and photo quality. Some prioritize candid moments; others create physical keepsakes. Understanding what each option trades off helps you pick the right fit.
Below, we’ll walk through seven proven alternatives, compare their costs and logistics, and show you how to handle setup, troubleshooting, and photo organization after the wedding.
Best Apps for Wedding Photo Collection
Digital photo-sharing platforms let guests upload photos directly to a shared gallery using their phones, no equipment rental, no physical prints to manage.
Guestpix: Centralized Digital Gallery
Guestpix works through a simple QR code. Guests scan it, upload photos and videos from their phones, and everything lands in one cloud gallery. No app download required.
The biggest advantage is cost-effectiveness compared to traditional booth rentals. You capture candid angles from multiple guest perspectives that a single booth operator would miss. The gallery stays accessible after the wedding, letting you relive the event for months.
The trade-off is participation. Some guests will scan and upload; others will forget. Relying entirely on guest engagement means you might end up with fewer images than a dedicated photo booth would provide.

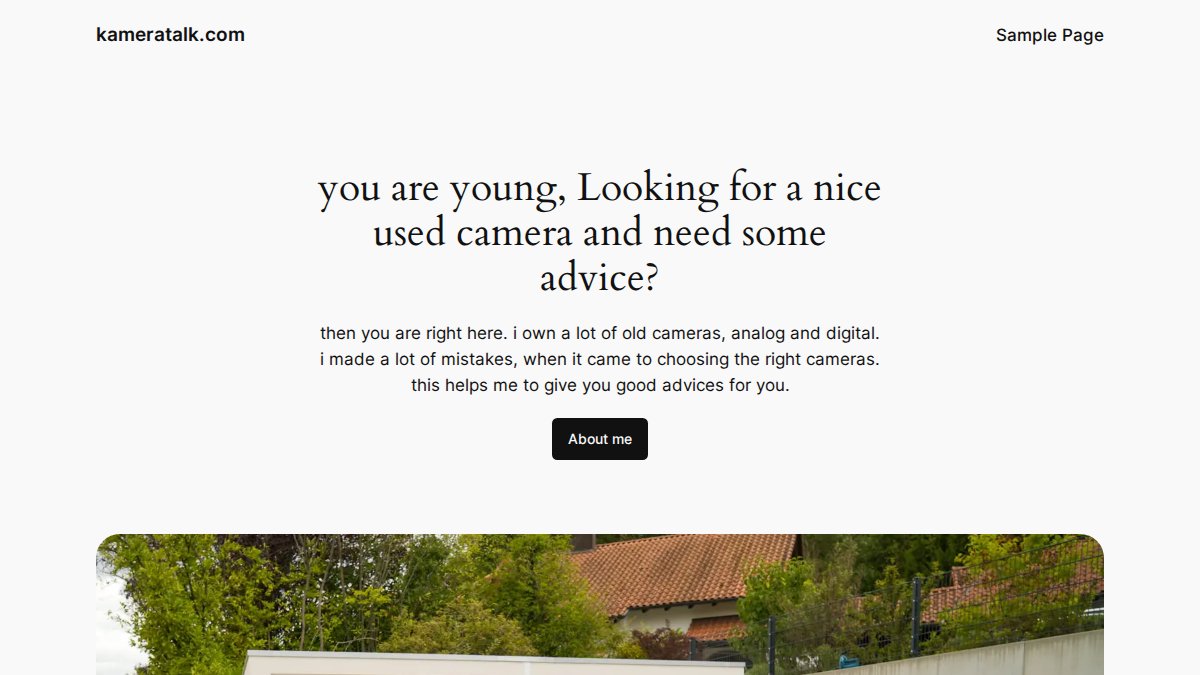
Kameratalk: Secure Photo Sharing with German Servers
Kameratalk offers photo sharing with privacy at the core. The platform uses German servers and GDPR compliance, which matters if you’re concerned about where family photos are stored. Guests upload through a simple link or QR code, with everything staying within EU data infrastructure.
What sets Kameratalk apart for weddings is the focus on security and control. You decide how long photos stay accessible and who can download them. The interface is straightforward enough that non-technical family members won’t struggle during the event.
The free plan lets you test the platform before committing. Paid options scale based on your needs. For couples prioritizing privacy and data security alongside photo collection, Kameratalk removes anxiety about where images end up.
DIY Wedding Photo Station Ideas
A DIY photo station gives you control over setup, aesthetics, and cost without renting a booth.
iPad Selfie Station with Ring Light
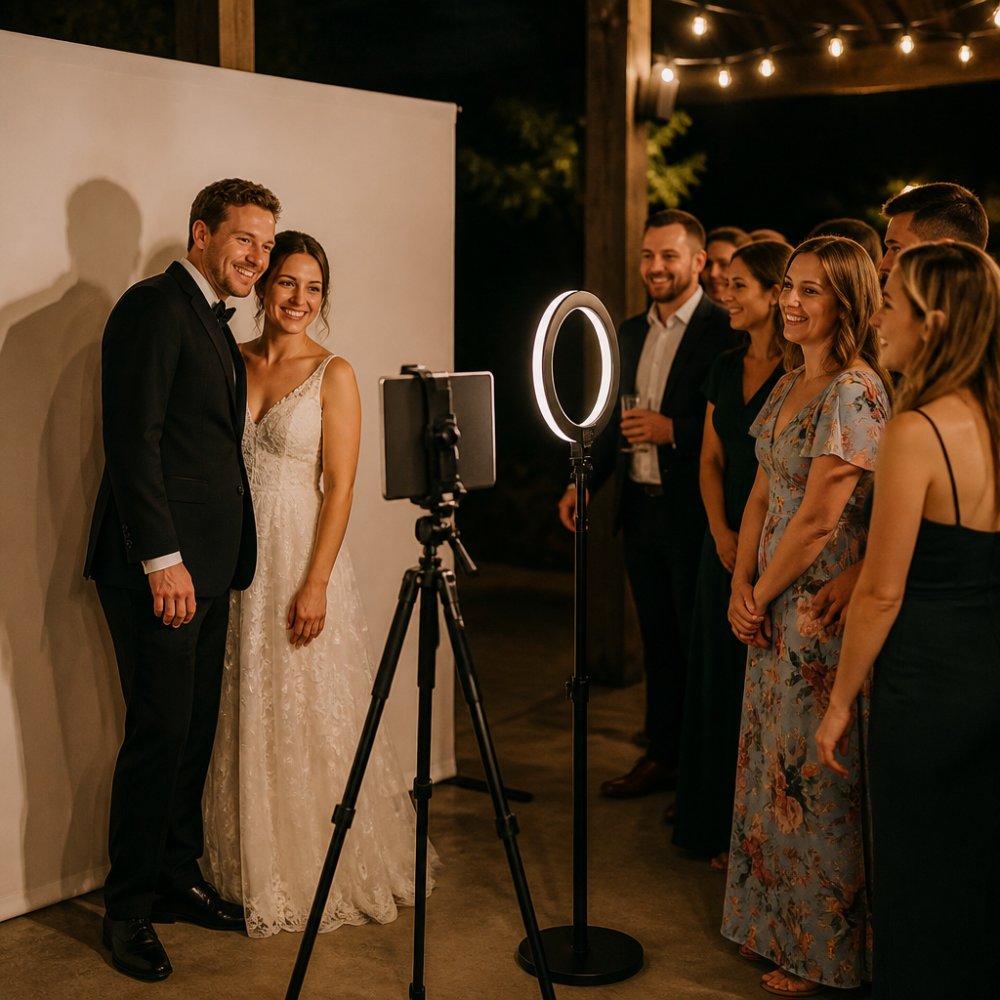
An iPad mounted on a tripod, paired with a ring light and custom backdrop, creates a functional selfie station for a fraction of booth rental costs. Guests take photos individually or in groups. The ring light ensures decent lighting regardless of venue brightness.
The setup is flexible, position it anywhere from a reception hall corner to outside during cocktail hour. The footprint is small and doesn’t dominate your space. Guests understand how to use it immediately.
The downside: someone needs to manage the iPad during the event. If unmanned, guests might not use it. If staffed, you’re paying for an attendant. The iPad needs a decent battery or power source. Unlike a traditional booth, there’s no physical print unless you add a printer.
A basic iPad station can be set up with quality gear you can reuse for future events.
Instant Camera Setup with Instax
Instant film cameras, particularly Fujifilm’s Instax line, create physical photos on the spot. Guests take a photo, the camera ejects a print, and they walk away with a tangible keepsake.
The experience is tactile and nostalgic. Instant film has a distinctive aesthetic that feels special. Many couples create a guestbook-style wall where guests tape their instant photos and sign them.
The catch: film costs add up quickly. An Instax camera and film packs represent an investment. You also need good lighting; instant film performs poorly in low-light venues.
The setup works best for smaller weddings or as a complement to another photo collection method.
Wedding Photo Sharing QR Codes
A QR code printed on table cards, napkins, or signage directs guests to a photo-sharing link. Scan, upload, done. It’s the simplest way to prompt guest participation without requiring them to search for an app or remember a URL.
The QR code approach works because it removes friction. Place codes on every table, not just one location. Repeat the code in multiple places so it’s visible from different angles.
The challenge is follow-through. Scanning is easy; uploading is one more step. You’ll likely capture 30-50% of the photos guests actually took, not 100%. That’s still better than hoping people remember to email you photos later.
Pair QR codes with a photo-sharing platform like Guestpix or Kameratalk for best results. Include a small note: „Scan to share your photos with us.“ Explicit instructions increase participation.
Disposable Cameras: A Retro Guest Engagement Option
Place a disposable or single-use film camera on each table. Guests pass it around, take candid shots throughout the meal, and create a shared narrative from that table’s perspective. After the wedding, you collect all cameras and have them developed.
This approach encourages interaction. Guests at each table collaborate on what to photograph. The results are authentic and unposed. The film aesthetic appeals to couples who want a vintage feel.
The downsides are practical. Development and scanning costs add up. You also don’t know what you’ll get until after the wedding; some cameras might capture great moments, others might be mostly empty or blurry.
This works best as a secondary photo collection method, not your primary strategy. Combine it with a digital platform so you have both instant digital access and developed film prints.
Comparison Table: Cost, Setup, and Guest Participation
| Option | Setup Time | Guest Participation | Physical Keepsake |
|---|---|---|---|
| Guestpix | 15 minutes | Moderate | No |
| Kameratalk | 10 minutes | Moderate to High | No |
| iPad Selfie Station | 30 minutes | High if staffed | Optional |
| Instax Camera | 20 minutes | High | Yes |
| QR Code + Platform | 10 minutes | Moderate | No |
| Disposable Cameras | 5 minutes setup | High | Yes (film) |
| Traditional Booth Rental | Vendor handles | High | Yes (strips) |
The table shows a clear pattern: digital alternatives cost less upfront but require guest participation. Physical options like instant film guarantee keepsakes but cost more overall. The hybrid approach, combining a digital platform with one physical option, often delivers the best balance.
Technical Troubleshooting and Post-Wedding Photo Workflow
Setup day problems happen. A guest can’t access the QR code link. The iPad won’t connect to WiFi. The instant camera produces blurry shots. Here’s how to handle common issues and organize thousands of photos afterward.
Camera and Lens Troubleshooting
Instant film performs poorly in venues with warm tungsten lighting or deep shadows. The film’s ISO is fixed (typically ISO 800 for Instax), which means it overexposes in bright sunlight and underexposes in dim reception halls.
Solution: Scout your venue’s lighting before the event. If the reception hall is dimly lit, position instant camera stations near windows or add supplementary LED panels. For outdoor cocktail hours, instant cameras excel with natural light.
For iPad selfie stations, the built-in camera struggles in low light. A ring light solves this, but placement matters. Position it 60-90 cm from the subject’s face, angled slightly downward to avoid harsh shadows. If too close, it creates an unflattering halo effect.
Disposable cameras have fixed focus and shallow depth of field. Guests standing more than 2 meters away will be out of focus. Brief guests to stand closer, or accept that some shots will be soft, this is part of the aesthetic.
WiFi and Connectivity Issues
Test your venue’s WiFi at least two weeks before the wedding. Many venues work fine for 20 people but struggle with 150 simultaneous uploads. Ask your venue for the network name, password, and router location. If the signal is weak in your photo station area, request they move the router or add an access point.
If the venue’s WiFi is unreliable, rent a mobile hotspot as a backup network. Have a staff member monitor the upload platform during the event and alert you if photos aren’t coming through.
For platforms like Guestpix or Kameratalk, test upload speed before the event. Advise guests to upload lower-resolution versions or wait until after the event if WiFi is slow. Most platforms allow delayed uploads.
Device Battery and Power Management
Charge all equipment fully the day before. Bring backup chargers, power banks (at least 20,000 mAh capacity), and USB-C and Lightning cables. For iPad stations, use a wall outlet if possible, tablets drain battery quickly when running the camera app continuously.
Ring lights typically run on rechargeable batteries or USB power. Test battery life in advance. A quality ring light lasts 6-8 hours on a full charge, but this varies by brightness setting. Bring a backup ring light or power bank with USB output.
Instant cameras don’t require separate batteries (most use a battery in the film pack itself), but LED flash units do. Bring extra film packs, which include fresh batteries.
Photo Quality Issues and Lighting Adjustments
Blurry photos usually mean low light or camera shake. For iPad stations, stabilize the device on a tripod and use a remote shutter button so guests don’t shake the iPad when tapping the screen. Increase the ring light brightness or move it closer to the subject.
Overexposed photos (washed-out, blown highlights) mean too much light. Adjust the ring light distance, angle it away from the subject’s face, or reduce brightness. For instant cameras in bright sunlight, position them in shade or use a diffuser.
Under-exposed photos (dark, muddy) are common in dim venues. Add more lighting, additional ring lights, LED panels, or reflectors. Position reflectors opposite the main light source to bounce light back onto the subject’s face.
White balance drift is common when shooting in mixed lighting. iPad cameras auto-adjust, but results can be inconsistent. For instant cameras, white balance is locked by the film type. Accept that instant photos will have a warm or cool cast depending on the venue’s lighting.
Post-Wedding Photo Organization Workflow
After the wedding, organize photos immediately. Download everything from your photo-sharing platform within a week. Create a folder structure by source (Ceremony, Reception, Candid, Instant) or by time (Morning prep, Ceremony, Cocktail hour, Reception, Dancing).
If you used instant film or disposable cameras, get them developed and scanned within two weeks. Order high-resolution scans (300 DPI minimum) that you can store digitally alongside other photos.
Back up files to cloud storage (Google Photos, Amazon Photos, or a private cloud service) and an external hard drive. This prevents loss if your primary device fails.
If you collected photos from multiple sources, consolidate everything into one folder. Remove duplicates, guests often photograph the same moment from different angles. Keep the best version of each shot.
The post-wedding workflow can take several hours, especially if you used multiple collection methods. Consider hiring a photographer or photo editor to handle this work; many professionals offer post-wedding organization services.
Accessibility and Inclusive Design for All Guests
Not every guest can use a smartphone or tablet. Some have vision or hearing limitations. Some have mobility constraints. Your photo collection method should accommodate everyone.
Camera and Equipment Accessibility
Instant cameras are the most accessible option for guests with limited tech skills. They require no app, no WiFi, no login. However, they’re held at eye level, which is difficult for guests in wheelchairs or with limited arm mobility. Solution: Mount the instant camera on a tripod at a height guests in wheelchairs can reach (around 1 meter high). Provide a remote shutter button so guests don’t have to reach or lean forward.
Disposable cameras are lightweight and simple, but require guests to hold the camera steady and look through a viewfinder. Guests with tremors, arthritis, or limited hand strength may struggle. Solution: Use cameras with larger bodies and easier-to-grip designs. Test the camera in advance with guests who have mobility limitations.
iPad selfie stations are accessible for guests comfortable with touchscreens, but problematic for guests with vision impairment or those unfamiliar with tablets. Solution: Increase text size in the camera app settings. Use large, high-contrast buttons. Provide a staff member to assist guests who need help.
QR codes are inaccessible to guests who are blind or have low vision. Solution: Print the URL alongside the QR code in large, high-contrast text (18-point font minimum). Have a staff member available to read the URL aloud or help guests access the platform.
Ring lights can be problematic for guests with light sensitivity or certain neurological conditions. Solution: Use continuous LED lighting instead of flash. Avoid strobe effects. Set the ring light to steady brightness and keep it away from guests‘ eyes.
Participation Options and Opt-Out Mechanisms
Make participation optional. Not every guest wants to be photographed. Some have cultural or religious reasons to avoid photos. Create a „no photo“ sign or sticker guests can display if they want to opt out. Respect this choice without comment or pressure.
For guests who don’t want to use the photo station themselves, offer an alternative: they can ask a staff member or friend to take a photo on their behalf. For guests uncomfortable with digital platforms, provide a paper alternative like a guest book where people can write messages or draw.
Language and Instruction Accessibility
If you have international guests, provide instructions in multiple languages. Print QR code instructions in English, German, and any other languages spoken by your guests. Keep written directions simple and visual, use icons and diagrams alongside text.
For digital platforms, check if they support multiple languages. Kameratalk offers language options. Have a staff member available to explain the photo collection process verbally. Speak clearly, use simple language, and be patient with guests who need clarification.
Mobility and Physical Accessibility
Ensure photo stations are wheelchair accessible. Position the iPad or camera at a height guests in wheelchairs can reach (around 1 meter high, or adjustable). Make sure the backdrop and lighting work for guests of different heights and mobility levels.
For instant camera stations, position the camera and film tray at a comfortable height so guests don’t have to reach up or bend down. Provide a chair or stool nearby for guests who need to sit while taking photos.
For iPad selfie stations, ensure the tripod is stable and won’t tip if a guest leans on it for balance. Test your setup with guests who have mobility limitations before the wedding and make adjustments based on their feedback.
Neurodivergence and Sensory Considerations
Guests with autism, ADHD, or sensory processing differences may find crowded photo stations overwhelming. Solution: Create a quiet photo station in a separate room or corner. Offer it during a specific time window when fewer guests are present. Reduce background noise and bright lights in this area.
For guests with social anxiety, the pressure to pose for photos can be stressful. Offer candid alternatives like disposable cameras or iPad stations where guests can take photos without being the subject.
Guests with ADHD may forget to use the photo station or struggle with multi-step processes. Keep instructions simple and visible. Remind guests verbally during the event. Use bright, eye-catching signage to draw attention to the photo station.
Minimize sensory overload: use soft, warm lighting instead of harsh ring lights. Avoid flashing or strobe effects. Keep background music at a reasonable volume near the photo station. Use neutral, calming colors for the backdrop instead of busy patterns.
Simplify the process: one-step photo capture (press button, done) is better than multi-step uploads.
Staffing and Support
Assign a staff member or trusted friend to monitor the photo station and assist guests who need help. This person should be trained to help guests with mobility or vision limitations, explain the process in simple terms, troubleshoot technical issues, respect guests who want to opt out, and be patient and non-judgmental.
Post-Event Accessibility
When sharing photos after the wedding, include alt text (descriptions of photos) for guests who are blind or have low vision. If you’re creating a printed album, consider large-print versions for guests with vision impairment.
Vendor Coordination and Event Day Logistics
If you’re using a digital platform, coordinate with your venue and catering team. Let them know a QR code will be displayed and ask them to mention it during announcements. Brief your photographer and videographer so they understand the digital collection is complementary, not competitive.
Which Alternative Fits Your Wedding Best?
Your choice depends on what matters most: cost, ease of use, physical keepsakes, or guest engagement.
Frequently Asked Questions
What are the most reliable alternatives to traditional wedding photo booths?
The most reliable alternatives combine guest engagement with practical photo capture. Digital apps like Guestpix and Kameratalk eliminate hardware logistics by letting guests upload photos via QR codes. DIY setups using an iPad with ring light and backdrop offer cost savings while maintaining a dedicated photo area. Instant camera stations (Instax) provide immediate physical keepsakes. Disposable cameras encourage candid, table-level interaction. The best choice depends on your guest count, budget, and whether you prioritize digital archives or physical prints.
How do wedding photo sharing QR codes actually work, and will guests really use them?
QR code photo sharing works by displaying a unique code at your venue that guests scan with their smartphone camera. This opens a web link to your event gallery, where they upload photos directly without downloading an app. Guest participation typically ranges from 30-60% depending on how prominently you display the code and remind guests throughout the event. Placing QR codes on table cards, the entrance, and the dance floor increases visibility. Offering a small incentive (prize draw for uploaded photos) can boost participation rates significantly.
Are DIY wedding photo station ideas actually cheaper than renting a traditional booth?
Yes, DIY setups can be significantly less expensive than professional booth rentals. An iPad selfie station with ring light, tripod, and backdrop can be set up with equipment. Instant camera stations (Instax) also represent an investment depending on camera count and film stock. The trade-off is setup responsibility and potential technical troubleshooting. For budget-conscious couples, DIY options deliver strong guest experience at a fraction of the cost, though they require advance planning and venue coordination.
How do I ensure photos from different sources (app uploads, instant cameras, guest phones) get organized after the wedding?
Create a post-wedding workflow by designating one person to manage photo consolidation. Digital uploads from apps automatically sync to cloud storage, while instant camera prints should be scanned and digitized within a week of the event. Ask guests who took candid photos on their personal phones to email or upload them to a shared folder within two weeks. Use a photo management tool to organize by date and source. This workflow prevents photos from getting lost across WhatsApp, Instagram, and personal devices. Starting with a clear post-event process saves hours of searching later.